Blog Hop Projects
Adorable projects are popping up in the Bumblebee Blog Hop . These projects are made by Helen Philipps and Charlotte Newland. So cute!
[su_spacer size=”5″]
This is the Tilda studio blog where we post a little inspiration and wish you a creative day.
For more free patterns, se our free patterns page!
Adorable projects are popping up in the Bumblebee Blog Hop . These projects are made by Helen Philipps and Charlotte Newland. So cute!
[su_spacer size=”5″]
SewAndSo are organizing a Bumblebee Blog Hop with wonderful designers starting today!
We also really appreciate their wonderful words in this post, almost tiered up, so nice!
Here are the Blog Hop participants:
Monday 9th January – SewandSo
Tuesday 10th January – Helen Philipps
Wednesday 11th January – Charlotte Newland
Friday 13th January – SewandSo – Free Pattern!
Tuesday 17th January – Lucie the Happy Quilter
Wednesday 18th January – Little Black Duck
Thursday 19th January – Very Berry Handmade
Friday 20th January – Sew Sweet Violet
[su_spacer size=”5″]
Molly and Mama made a delightful hexie bee kite using Bumblebee fabrics. Pop over to Molly and Mama for more details on how to purchase this pattern and be inspired by many other beautiful creations.
Many talented, innovative Australian designers have joined Tilda Australia to create projects in The Bumblebee Collection. Check out all the amazing projects www.instagram.com/tilda_australia/
[su_spacer size=”5″]
Bumblebee fabrics are due in stores this January and if you are looking for a spring project The Bumblebee Quilt pattern might be just the thing.
This pretty quilt uses gentle curves to make units that once joined together create a lovely hour-glass pattern waving serenely down the quilt.
The Bumblebee quilt is designed by Tone Finnanger. Explanations and step by step illustrations are made by the talented Linda Clements.
[su_spacer size=”5″]
We hope you all had a wonderful Christmas and wish you a happy and creative new year 2017!
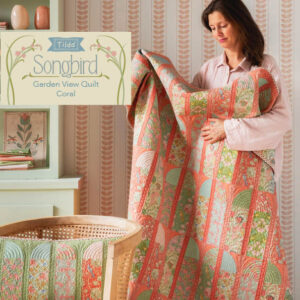
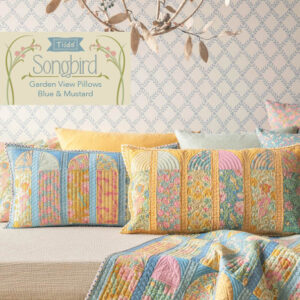
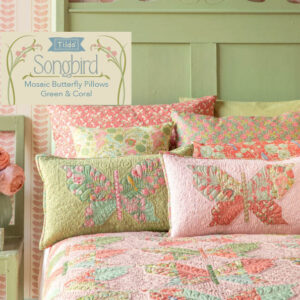
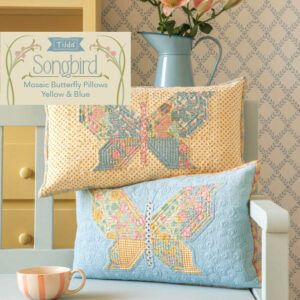
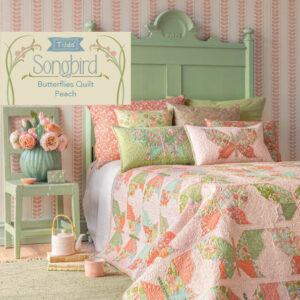
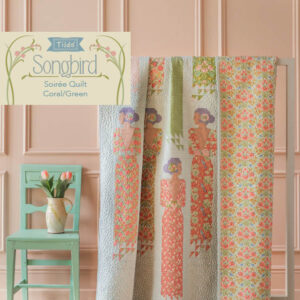
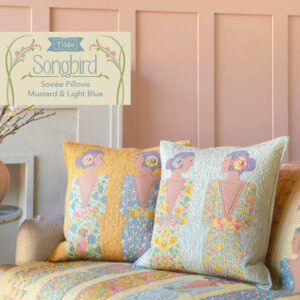
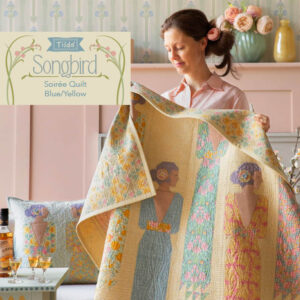
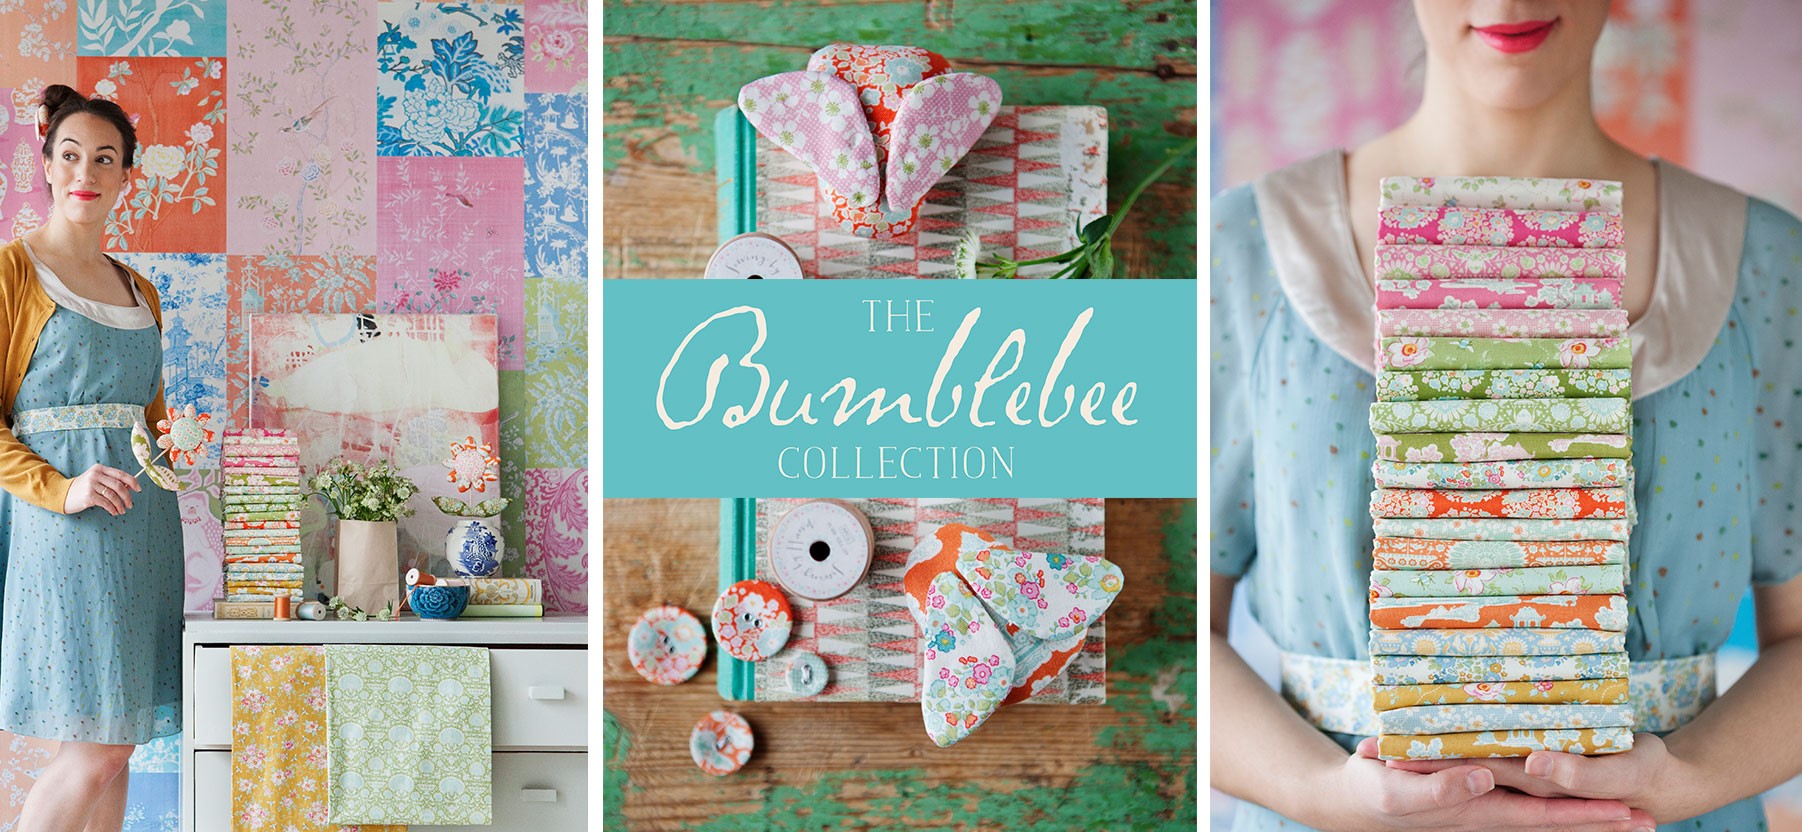
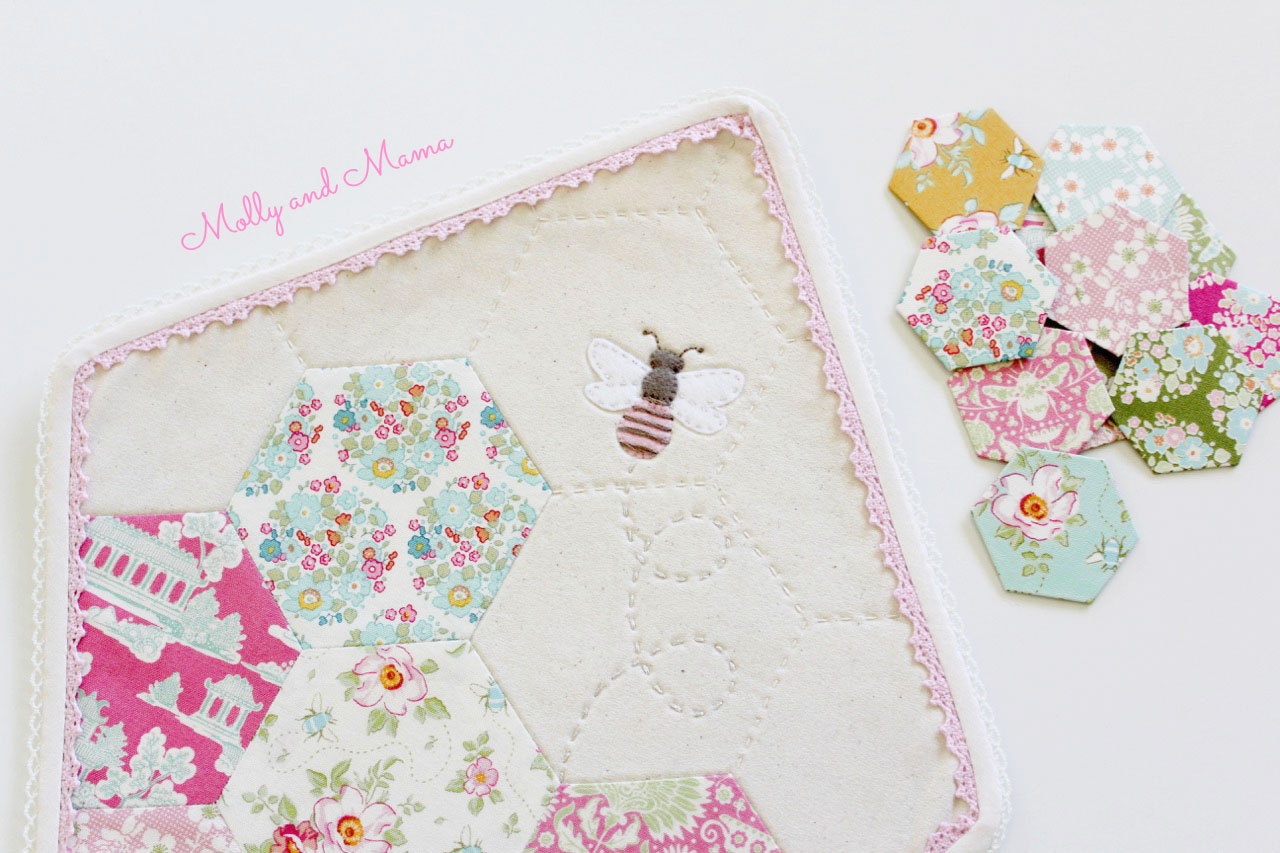
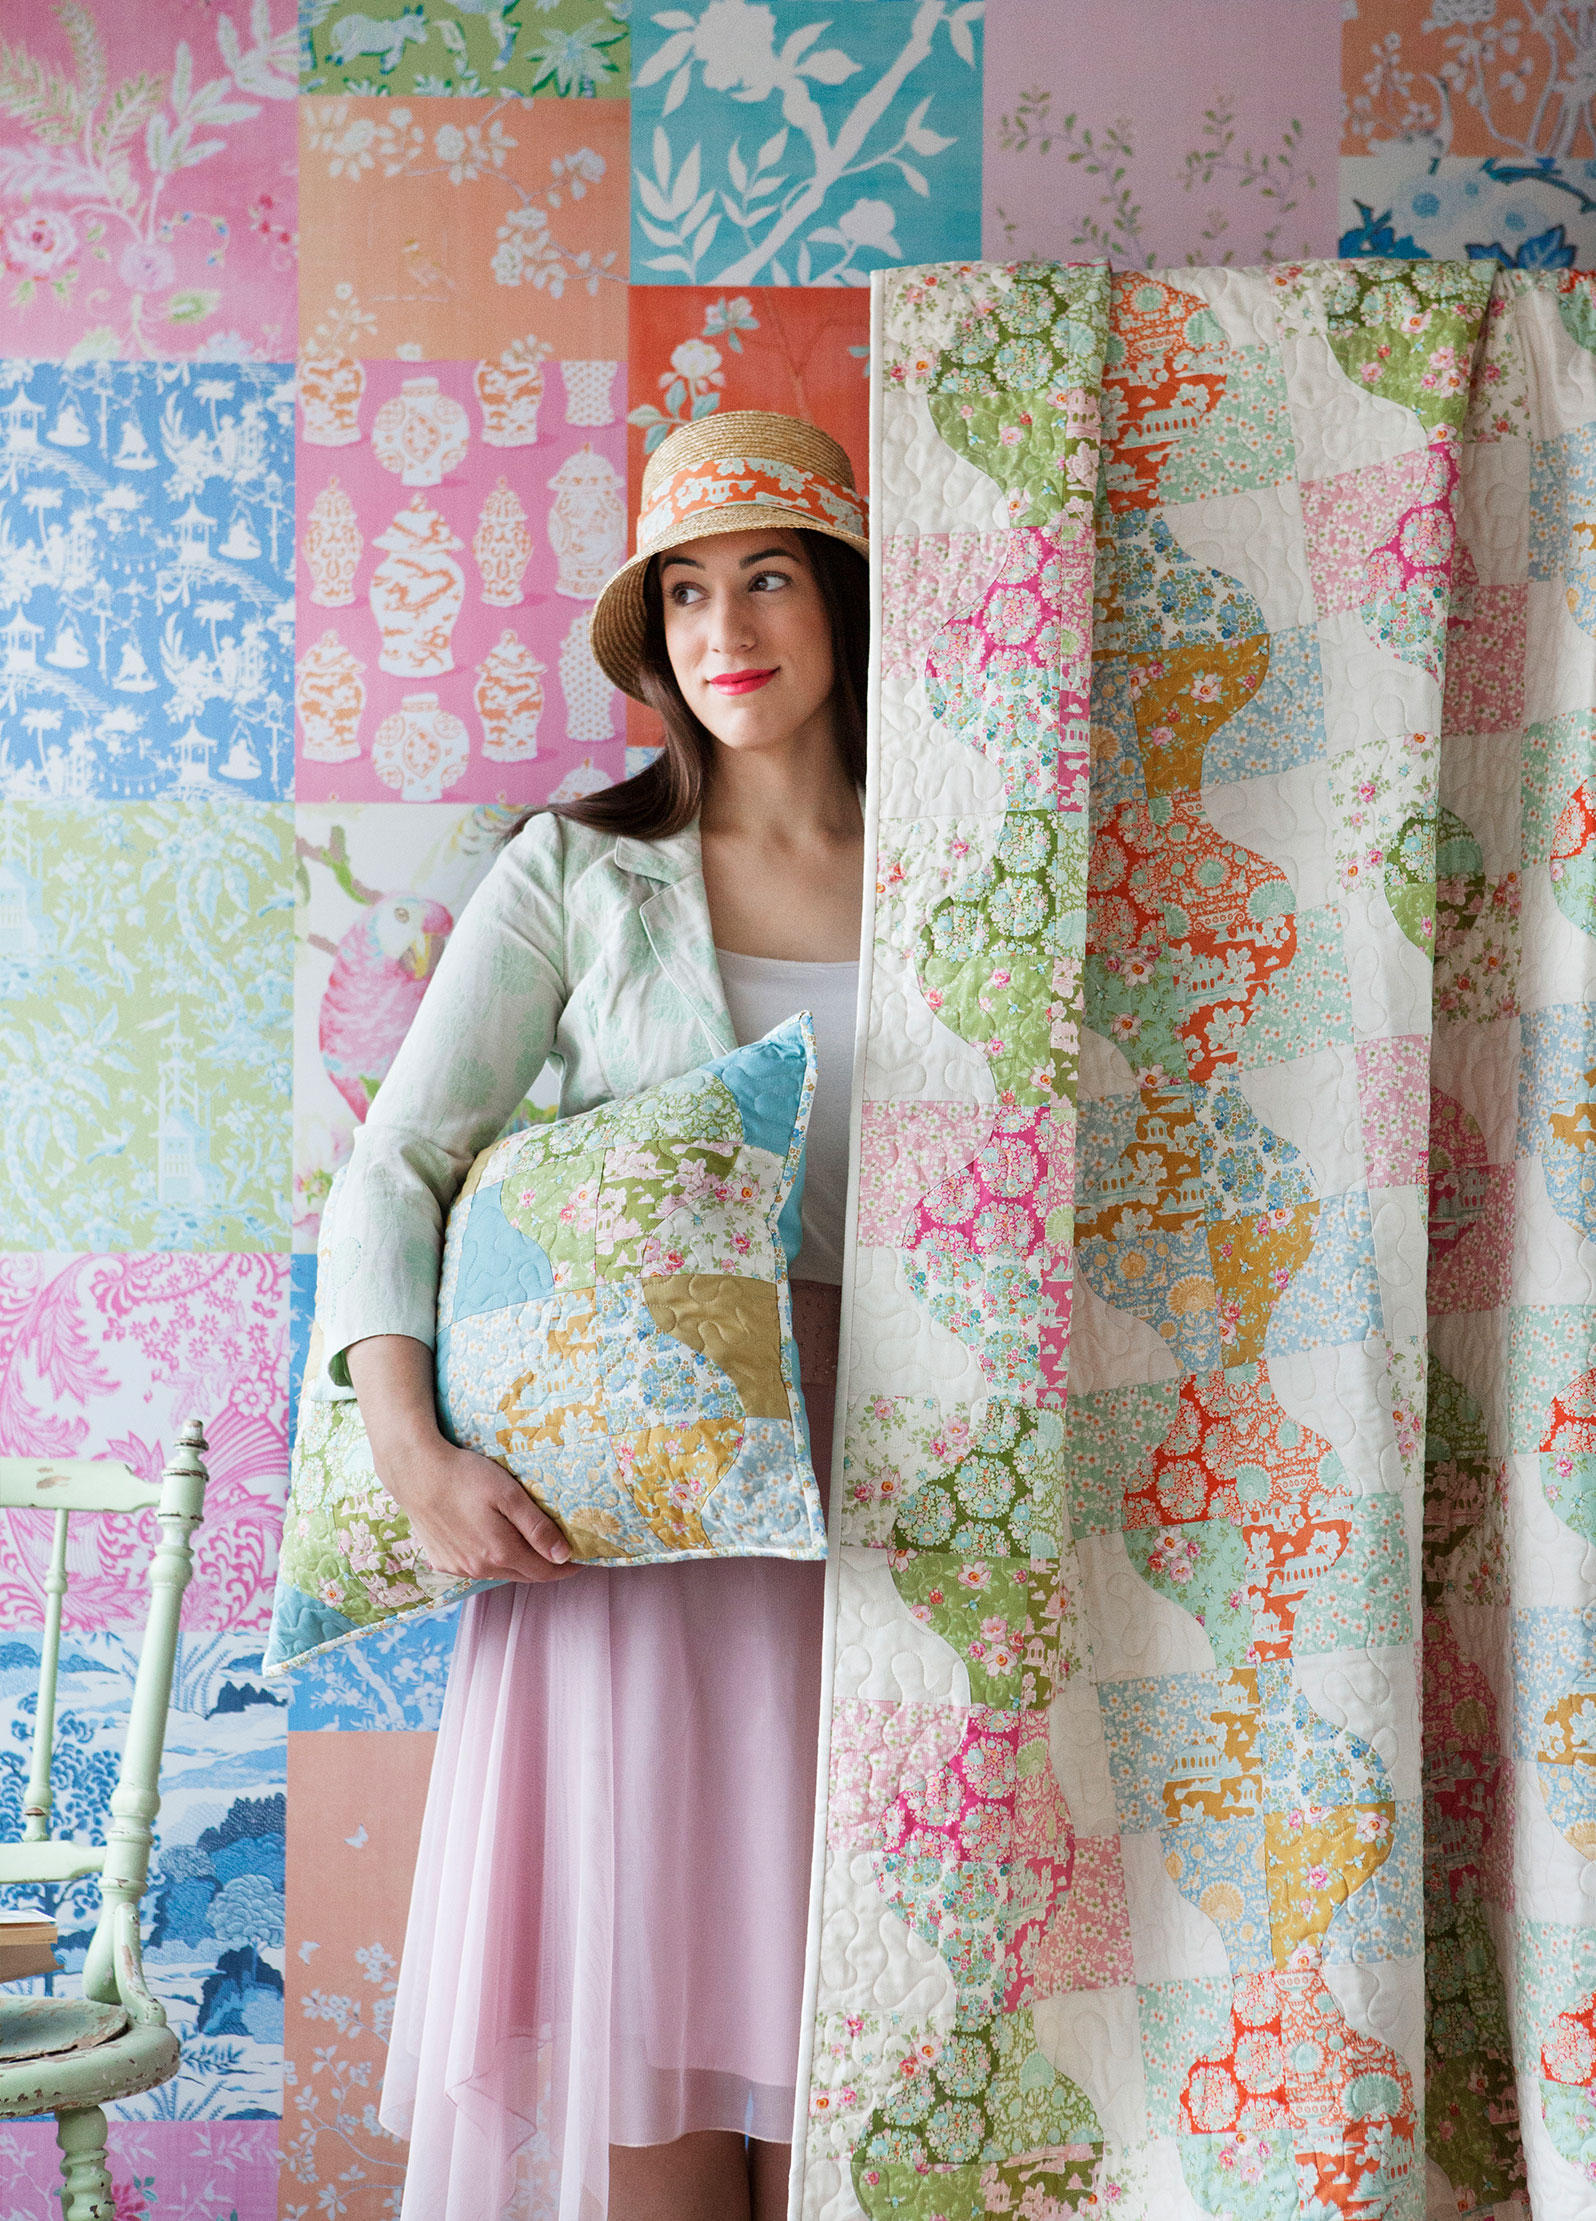
To get quilts and pillows ready for spring we need to get an early start so here is a look at the spring collection “Bumblebee” witch will be available this January.
Last summer we had a bumblebee nest just by the studio door, and although we sometimes had to run through the door to avoid bumblebees inside, it gave us a satisfying feeling.
There are not enough bumblebees in the world but we have a whole nest by our door.
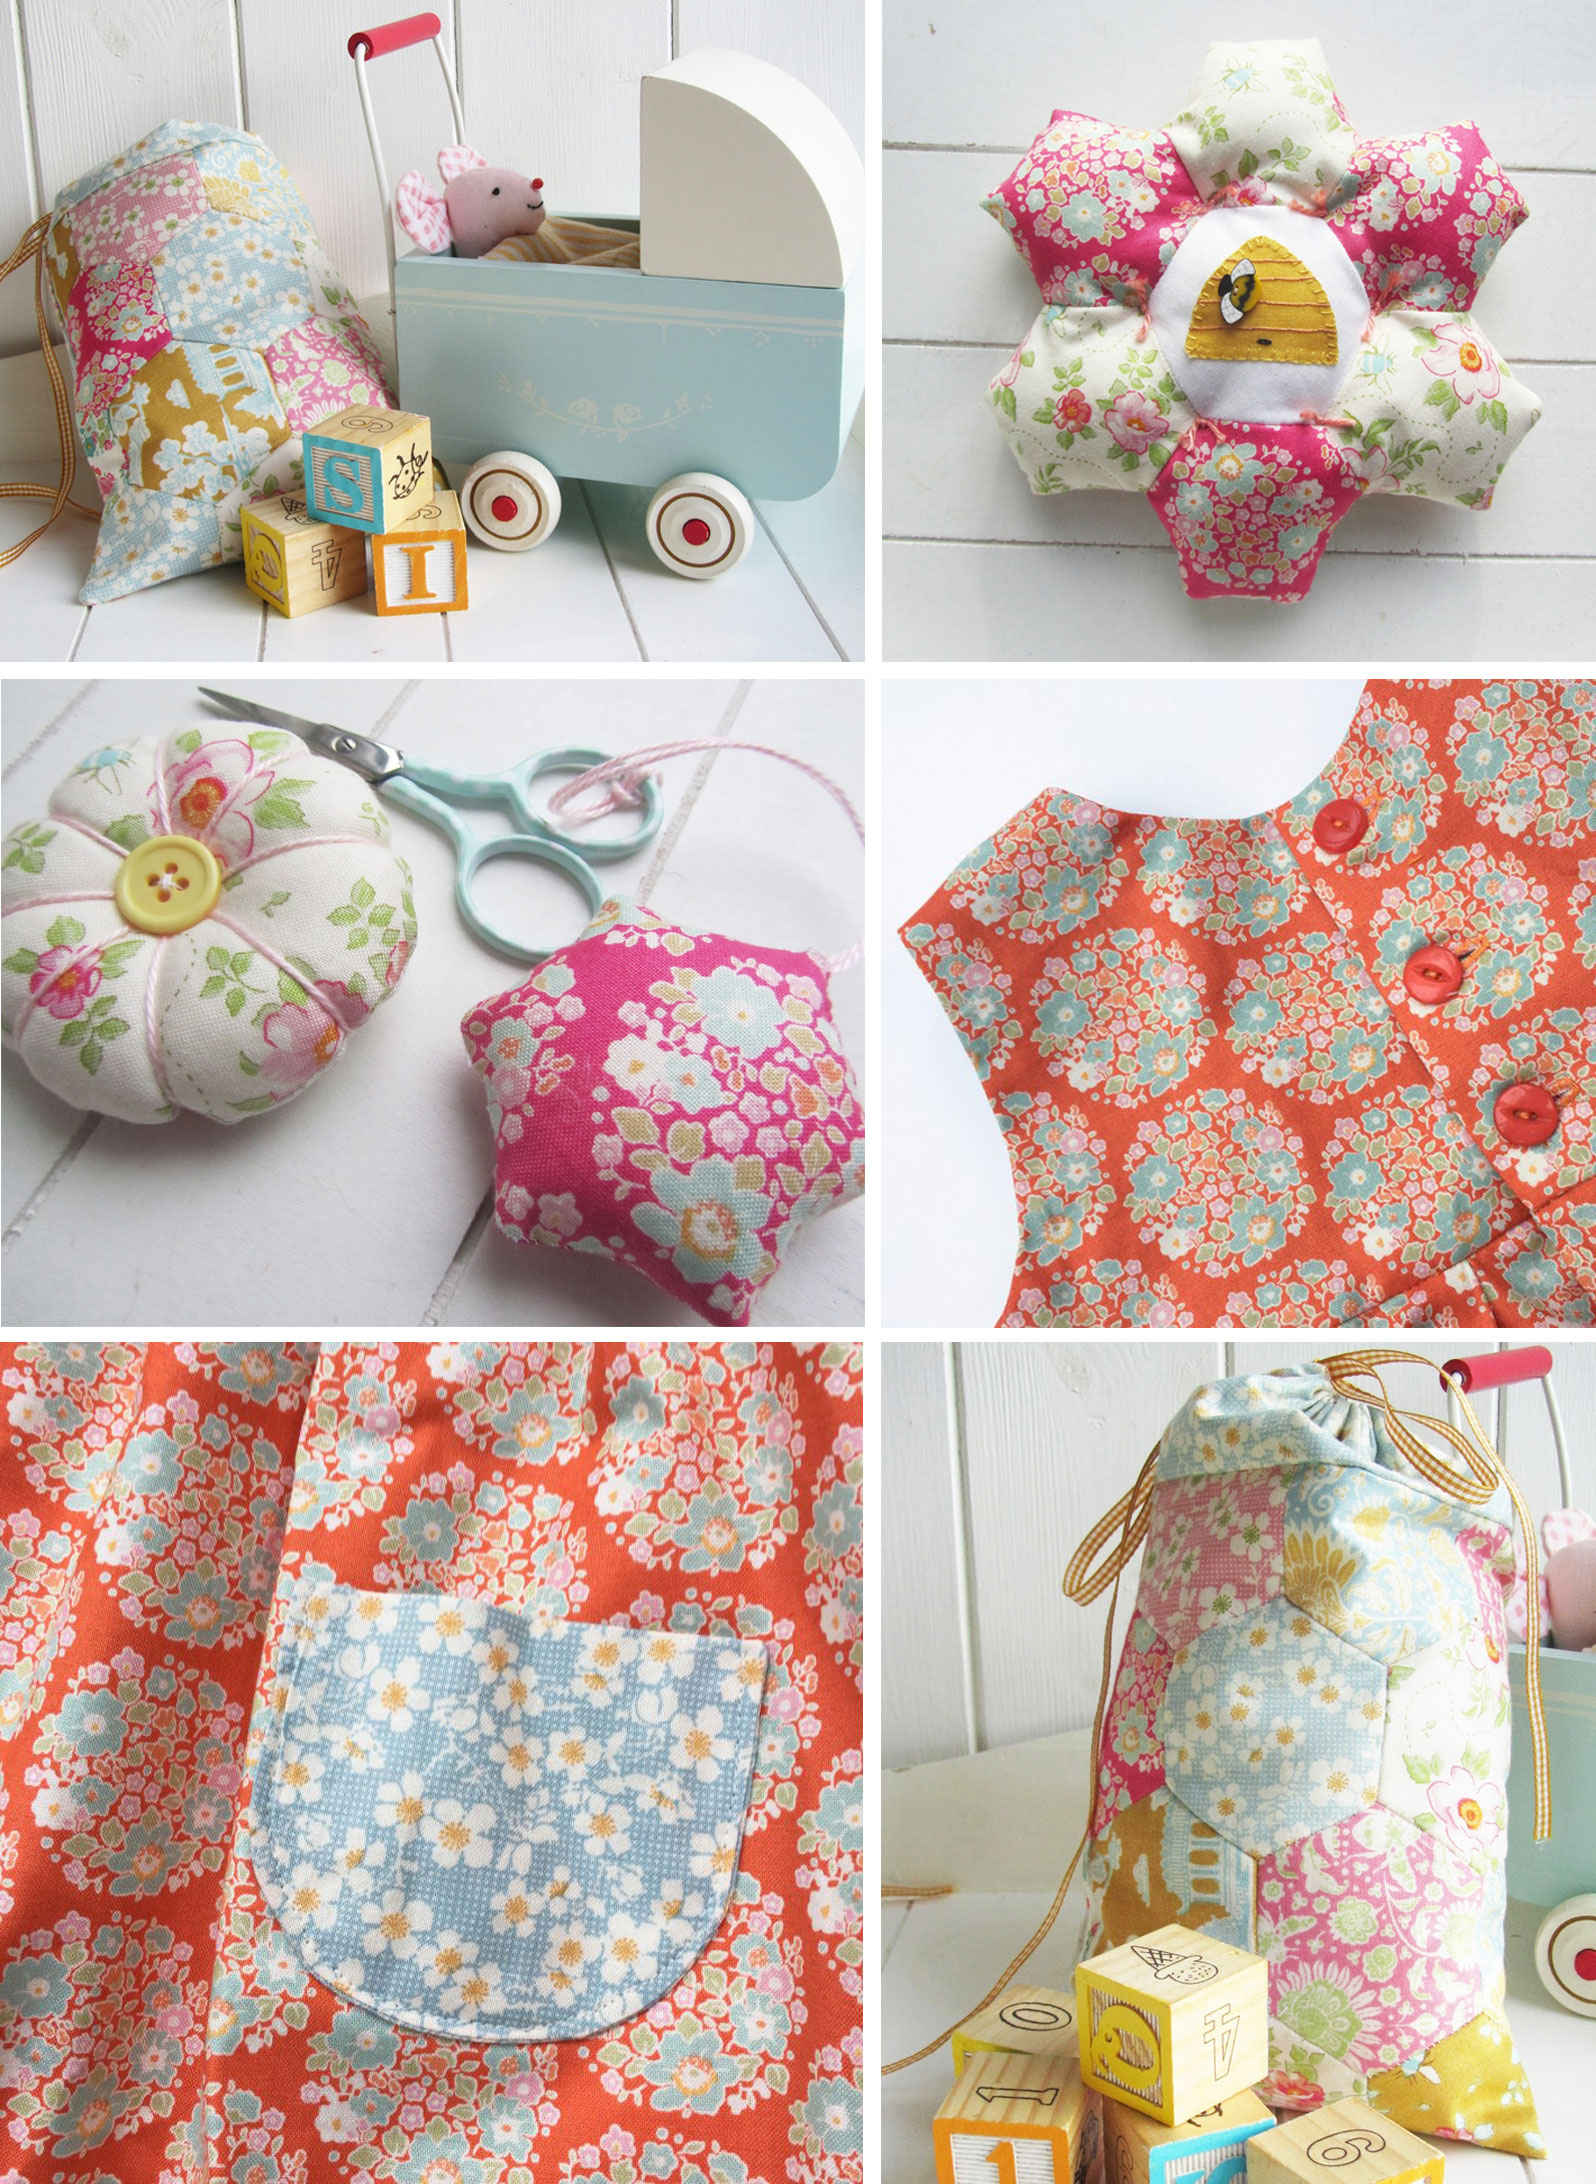
Our bumblebee neighbors and reading The Bees by Laline Paull gave me the idea of a bee-inspired collection.
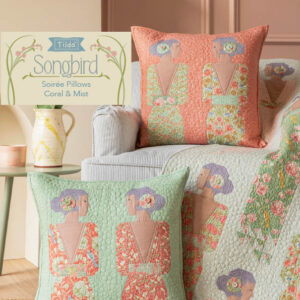
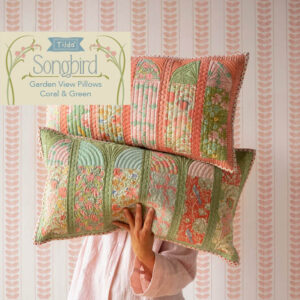
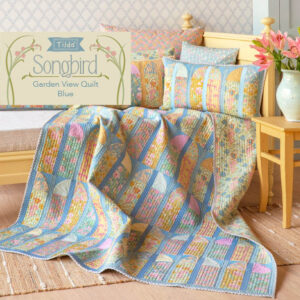
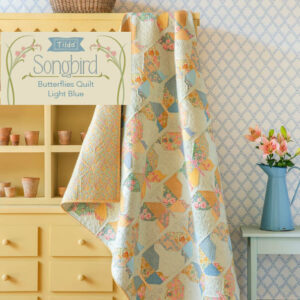
The Bumblebee collection is soft, sweet and full of flowers and beloved bees and bumblebees.
A happy colour palette reminds us of light and delightful spring days.
Have a bee-utiful day!
[su_spacer size=”5″]
We just had our annual Christmas workshop in the Tilda studio and this year we made lovely Christmas birds.
They are quite easy to make and great for a workshop if you do some preparations.
[su_spacer size=”5″]
[su_spacer size=”10″]
The body is sewn, and we had pre-sewn bodies for our workshop.
Here is the christmas-bird-pattern
You will need:
Cardboard or a plastic sheet for templates
Pen
Fabric for the body, wings, tail and beak.
Filling for the body
Flower stick for turning
Needle and thread
Thin cardboard for wings, tail and beak
Fast drying craft glue
Small sharp scissors
Purls for eyes
String, thin metal wire or thin ribbon
Make sure you have a needle with a head small enough to go trough the small purls you choose for eyes.
First you need to make cardboard or plastic templates for all the pattern pieces, then iron the body fabric right sides together and trace the body onto the fabric using the body template.
Sew on the line and leave an opening for turning as shown in the pattern.
(Sewing the bodies is all the preparations we did for the workshop in addition to making all the necessary materials available.
We also printed out a pattern for each participant so they could make their own templates for wings, tail and beak.)
Cut around the body shape approximately 4 mm or 0,3In outside the seam and use the flower stick to turn the body.
Fill the body and tack the opening shot.
Glue fabric onto thin cardboard and trace two mirrored wings, a tail and a beak on the back using your templates.
Cut the pieces out with small sharp scissors.
Fold the tail a little on the middle so that it’s easy to glue it onto the bird. Glue the wings onto each side, and fold the beak before you glue that on.
Sew small purls on as eyes.
To hang the birds you can use a thin metal wire, string or thin ribbon.
The birds are cute as decor on the Christmas tree or on your wrapped gifts.