


Quilt inspiration!
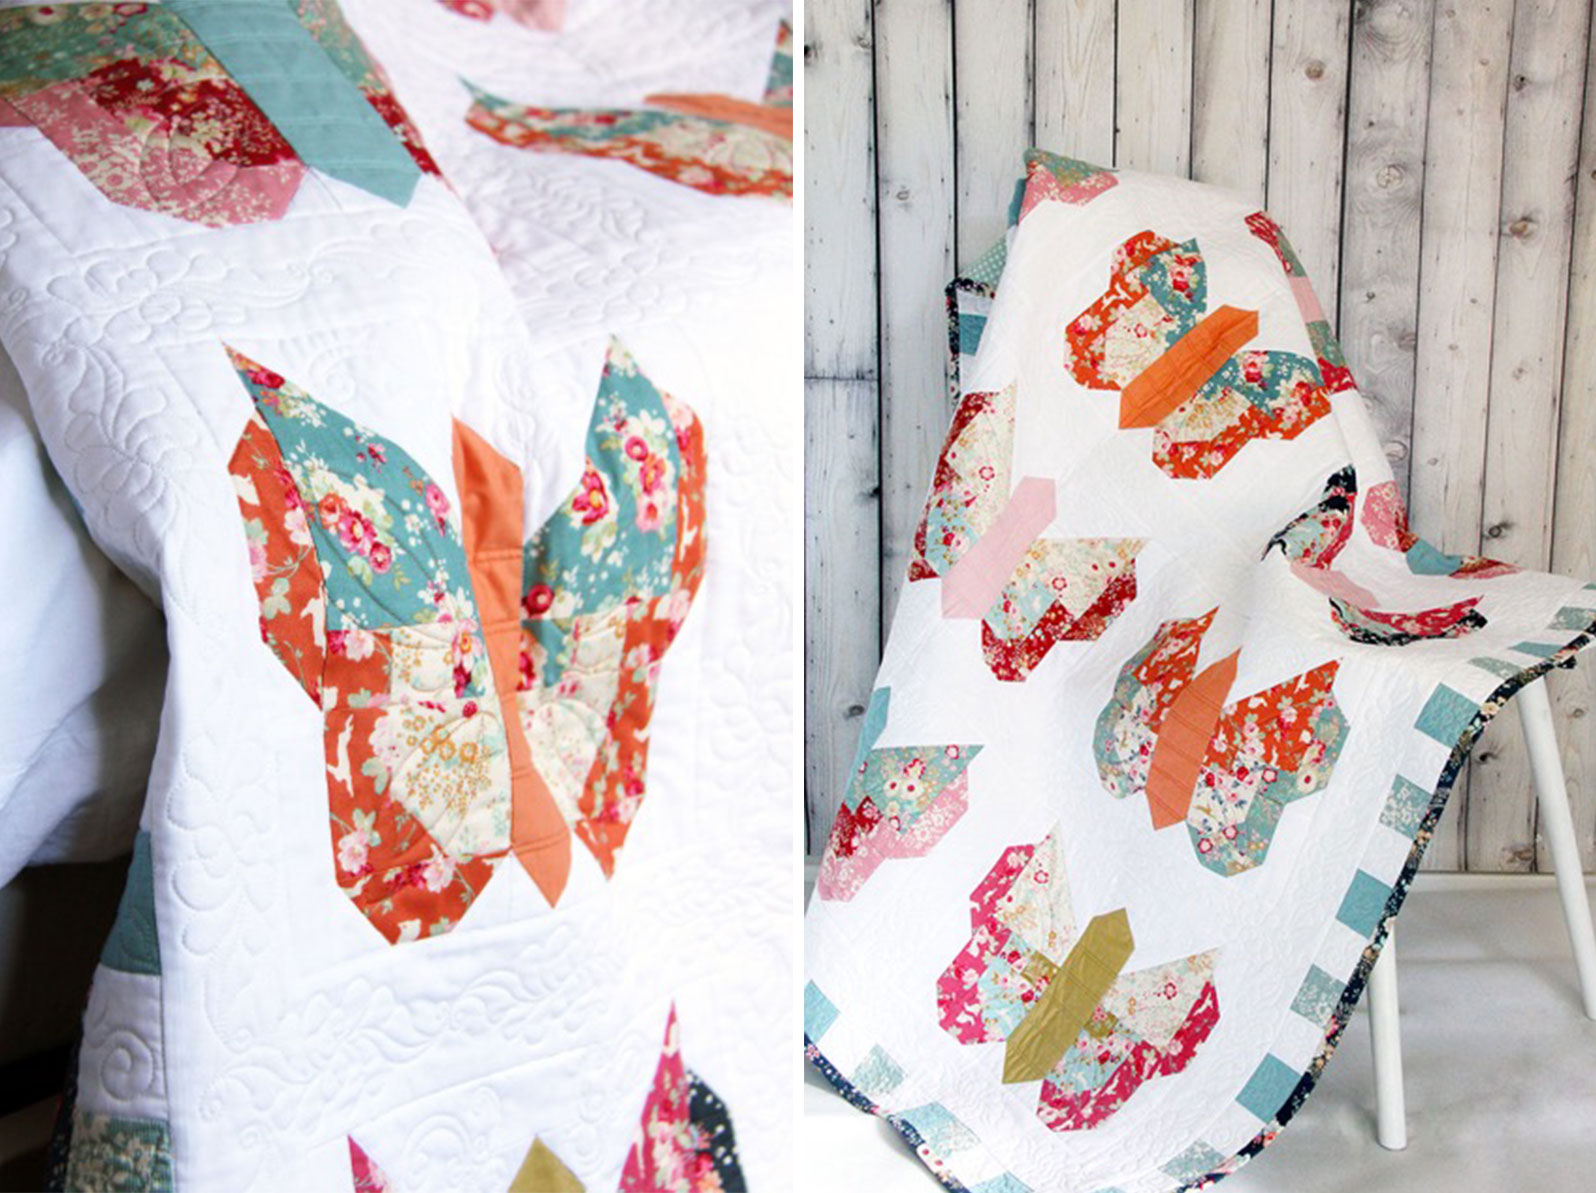
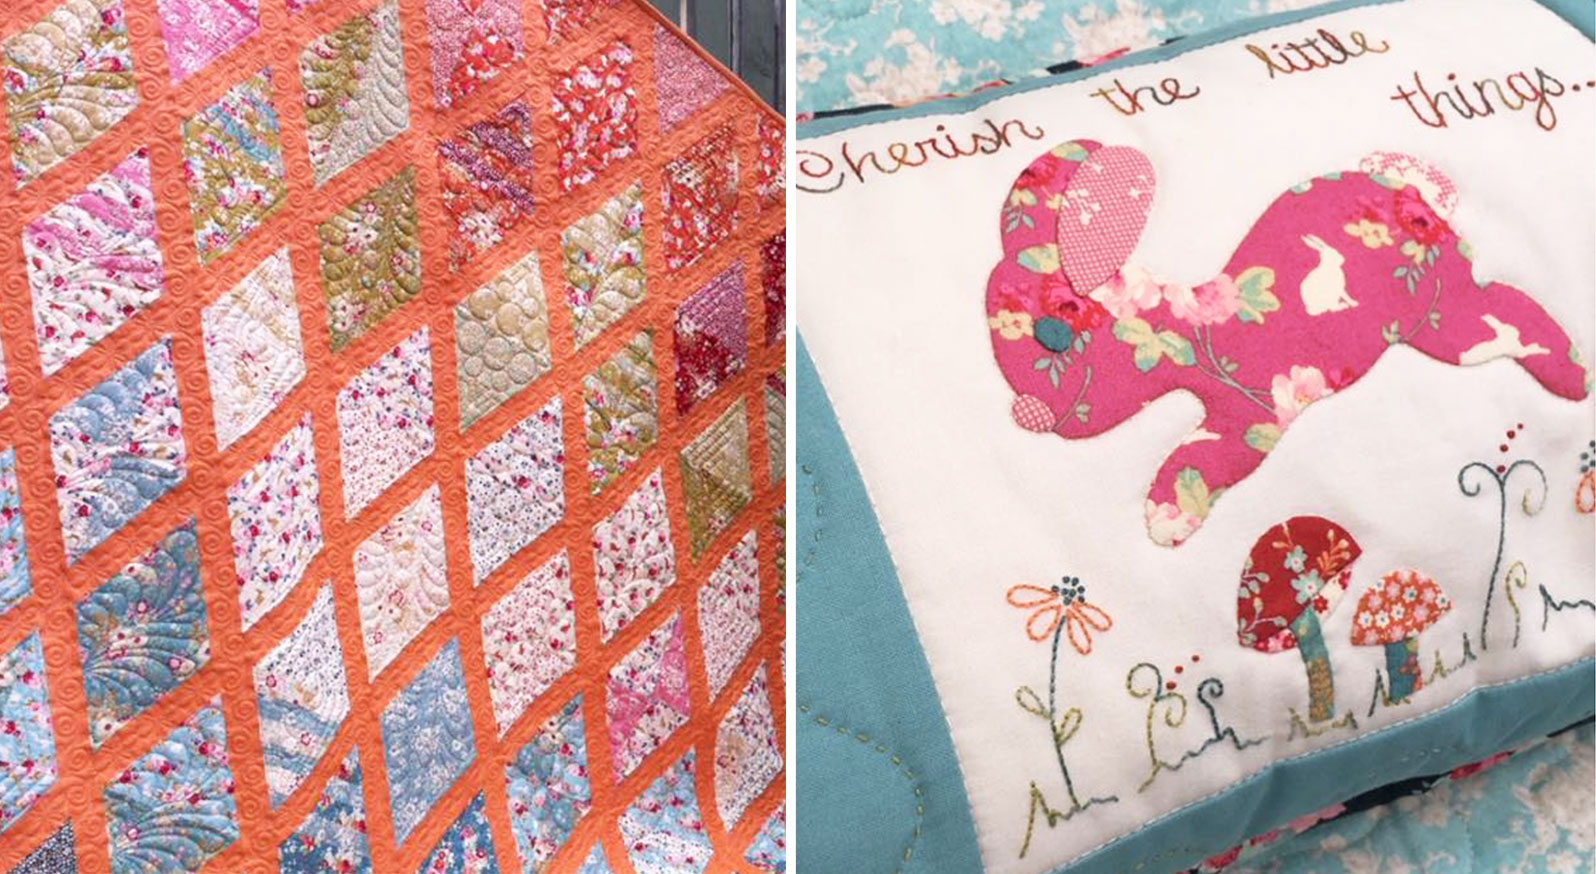
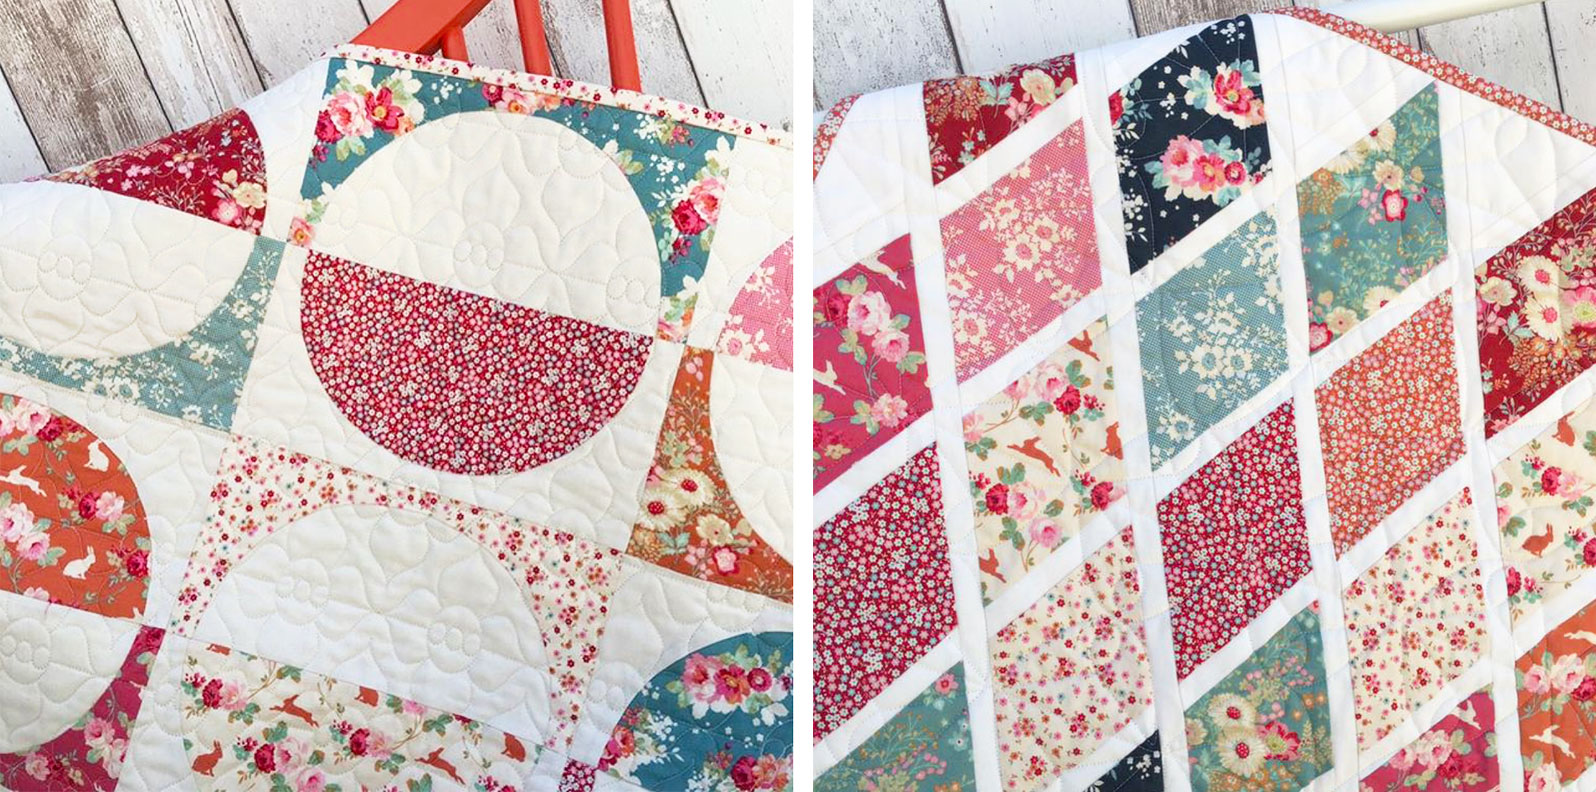
Tilda Australia used two of our free quilt patterns to make fresh new quilts with the new autumn fabrics. The retro inspired Spring Diaries Quilt and the Pardon My Garden diamond Quilt.
They really look great in Cabbage Rose and Memory Lane fabrics!
[su_spacer size=”5″]
[su_spacer size=”10″]
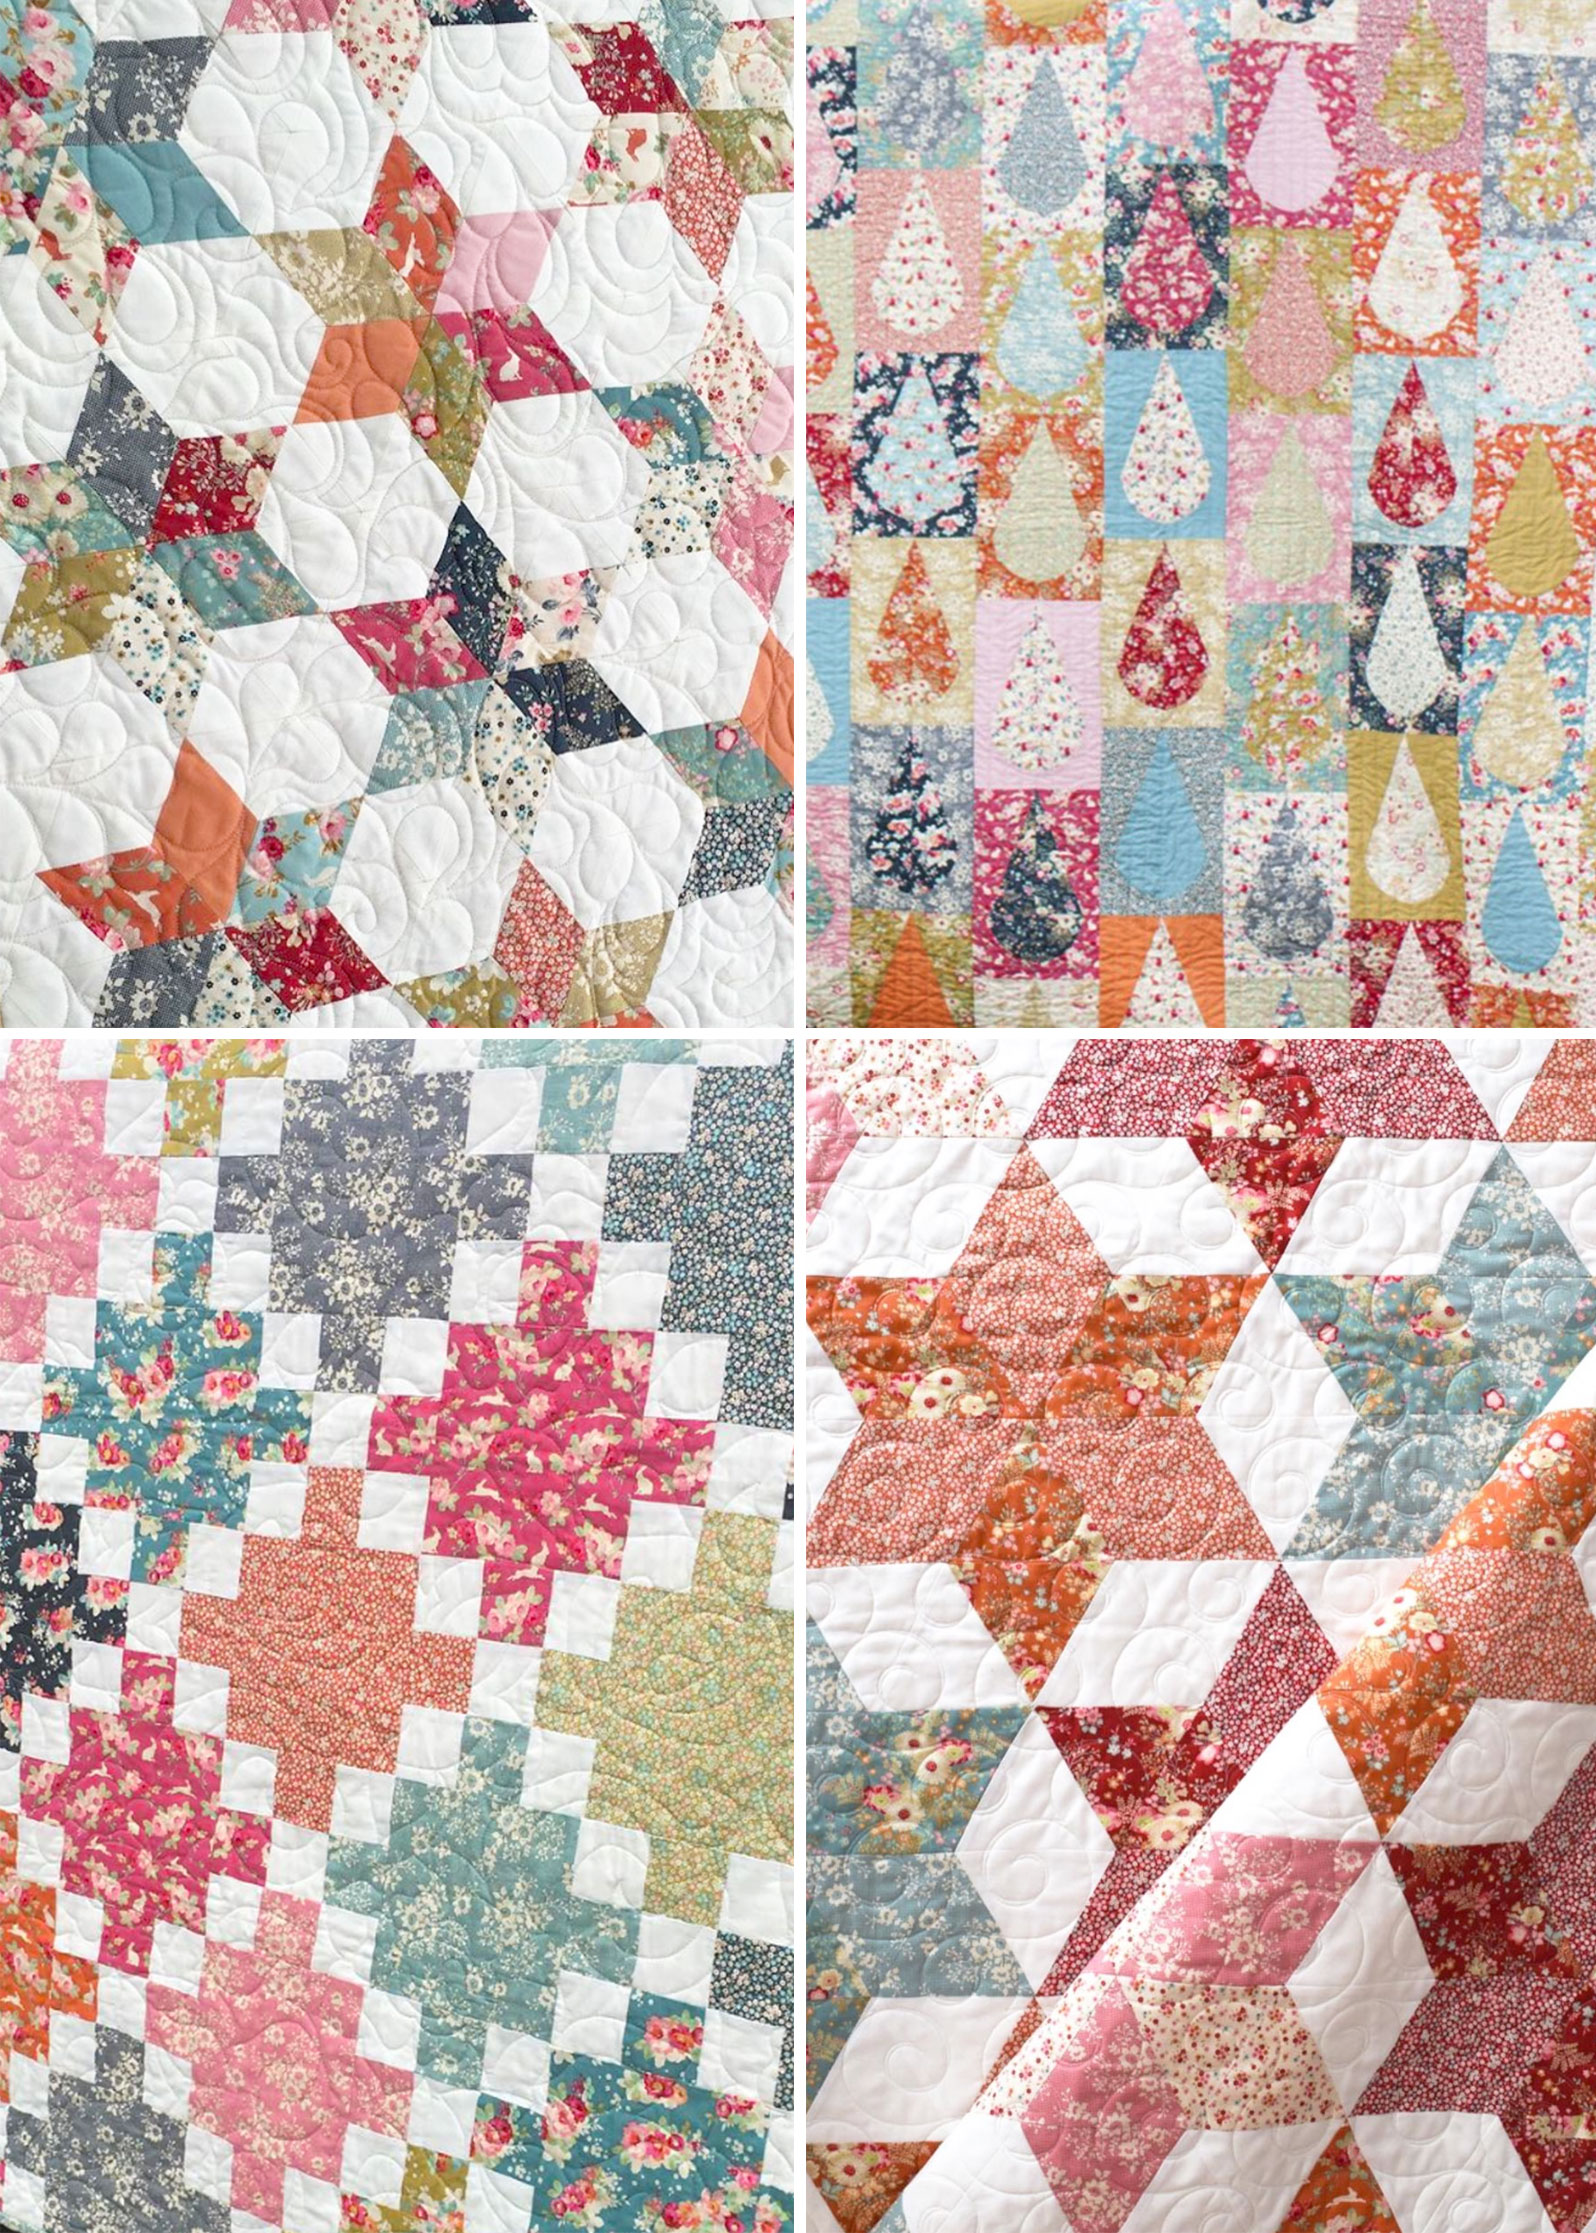
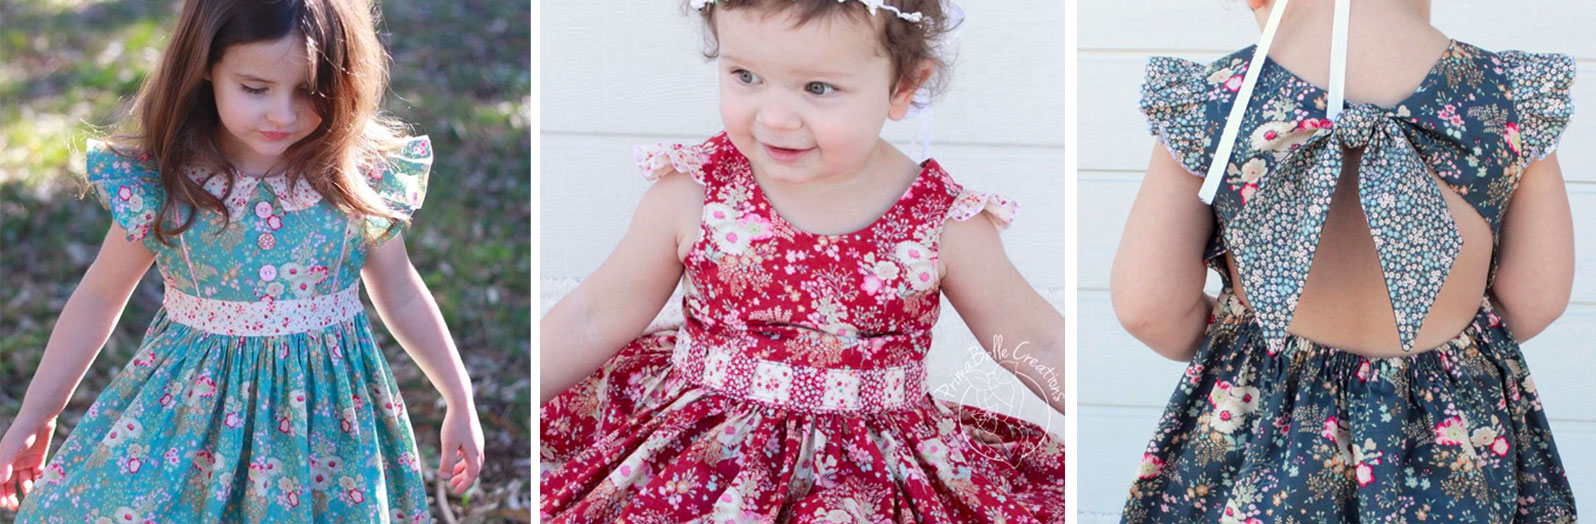
More amazing quilt inspiration with new Tilda fabrics in this collage of details from quilts by: Stitch Between The Bridges, Cole & Taffy, My Georgie Boy and She Quilts A Lot.
Absolutely wonderful!
[su_spacer size=”5″]